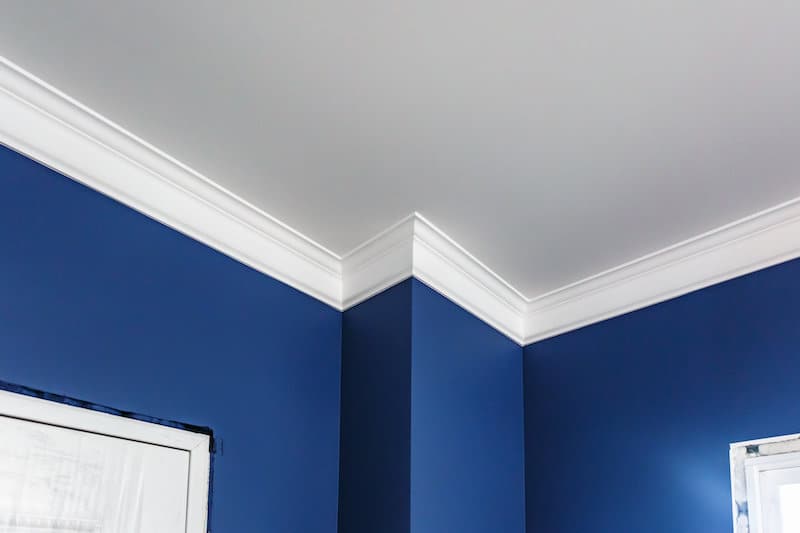
Crown molding has been a symbol of elegance for centuries, adding sophistication and value to any home. Whether ornate or simple, crown molding reflects your home’s quality and timeless appeal.
From Grecian to Edwardian styles, these details elevate both modern and historic spaces. Many homeowners even incorporate lighting into crown molding, creating a unique ambiance.
Discover how crown molding can enhance your home, no matter its age or style, with these inspiring ideas and tips.


Types of Crown Molding
There are several types of crown molding, each suited for different architectural styles and preferences. Here are a few popular options:
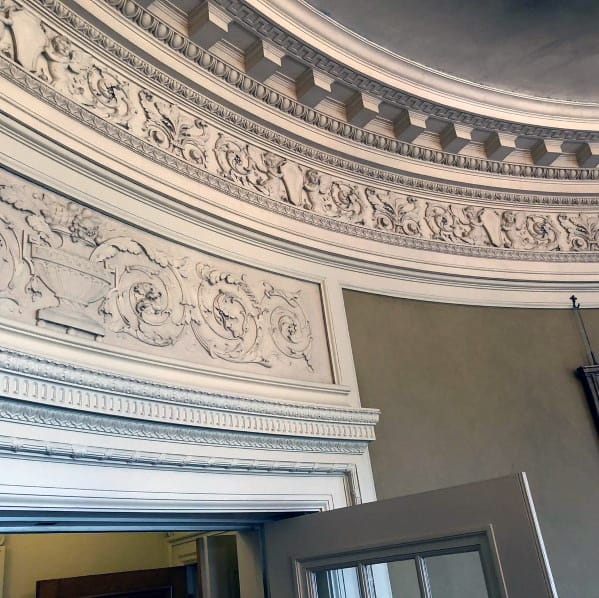
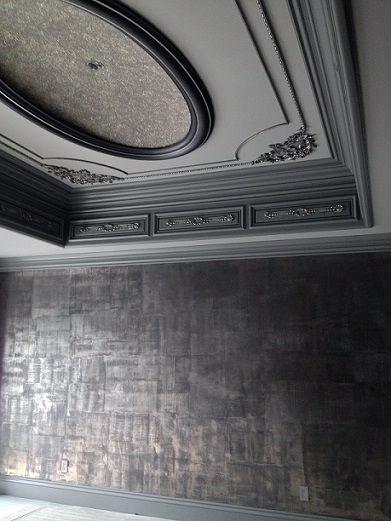
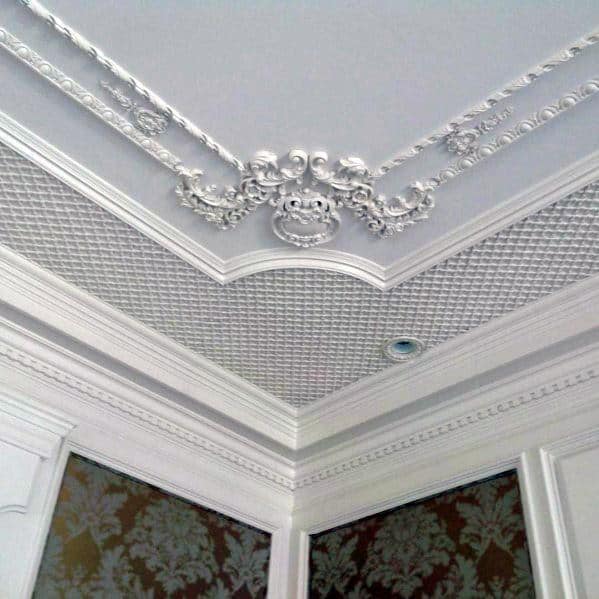
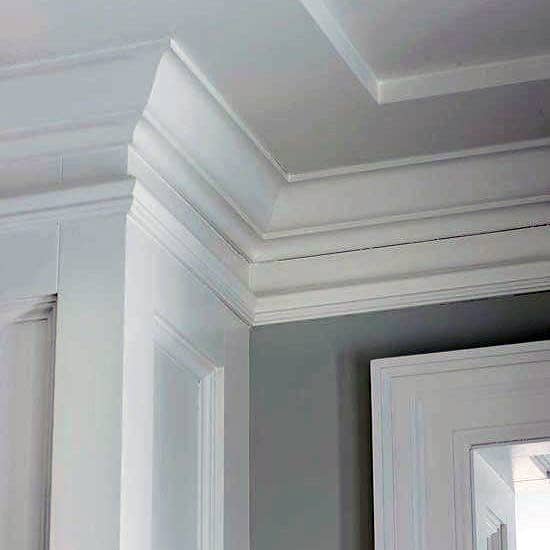
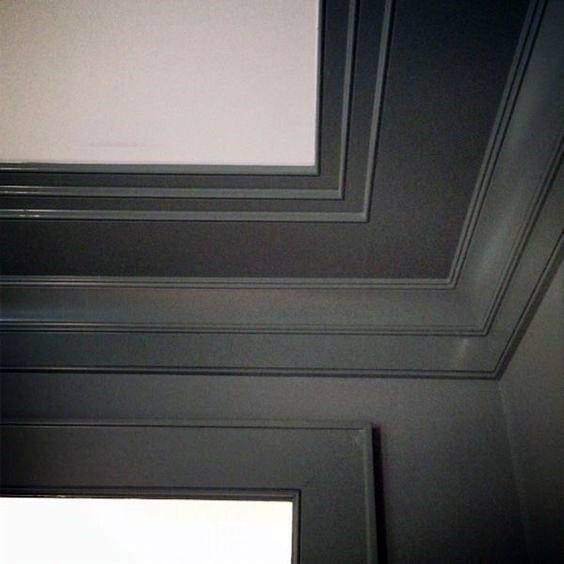
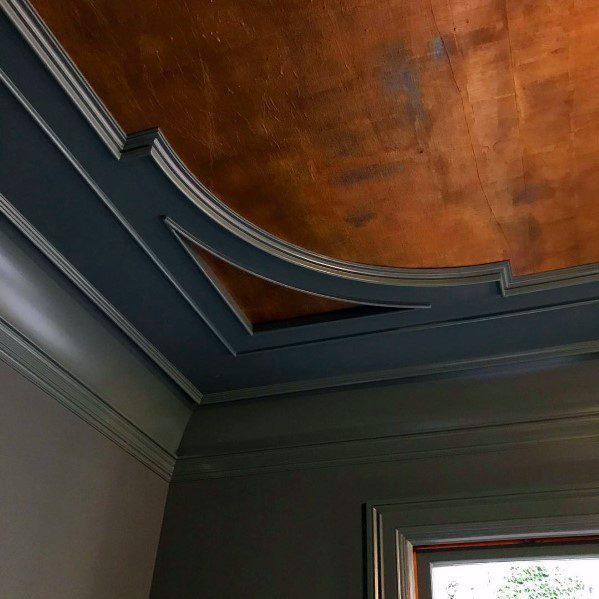
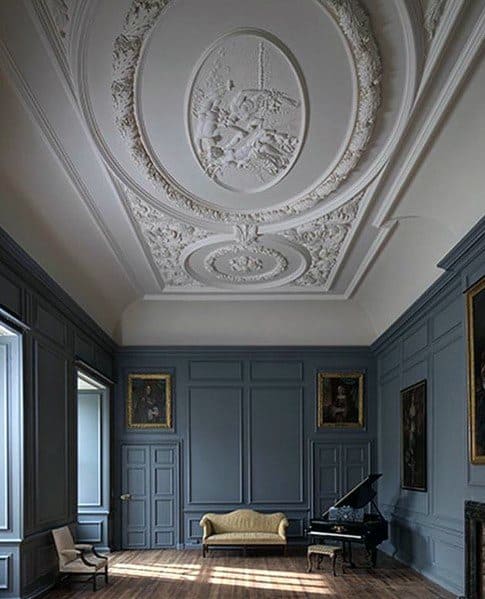
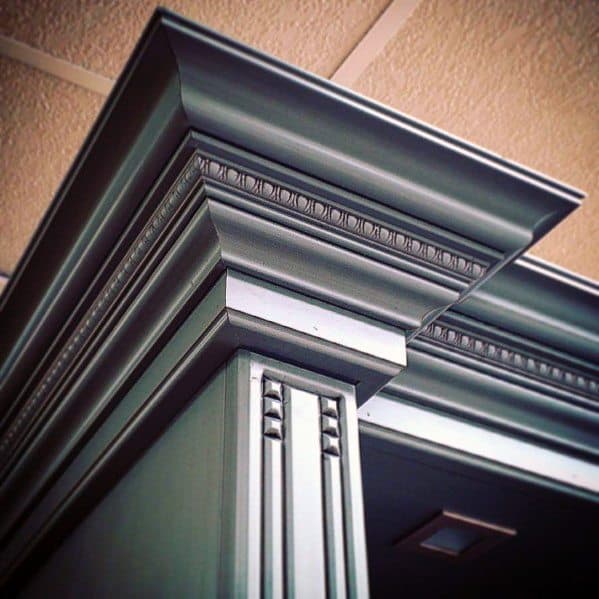
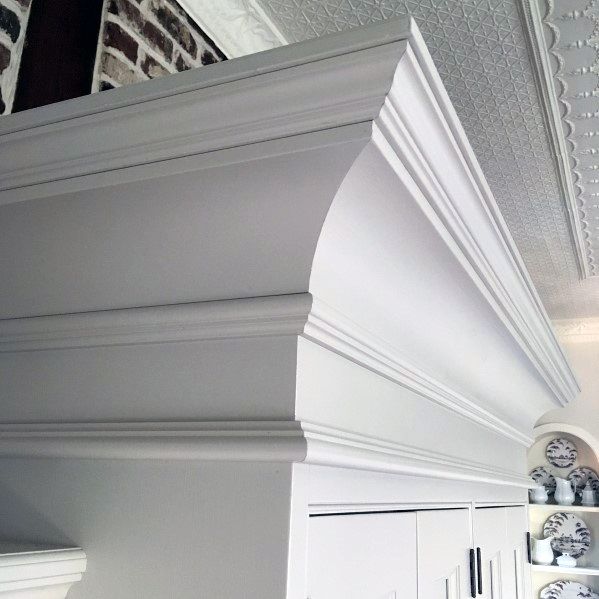
- Traditional Crown Molding: This classic style features intricate details and is ideal for homes with traditional, vintage, or ornate designs. It often includes floral patterns, curves, and elaborate finishes.
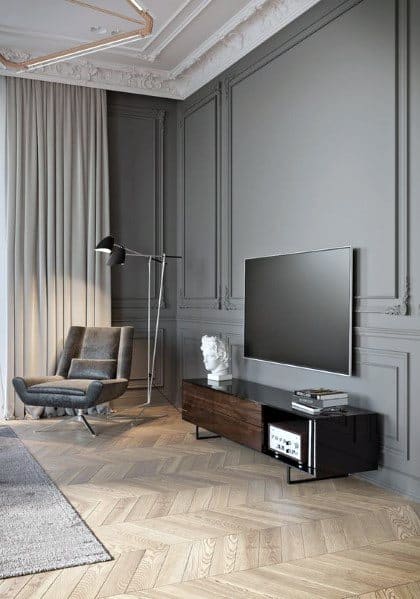
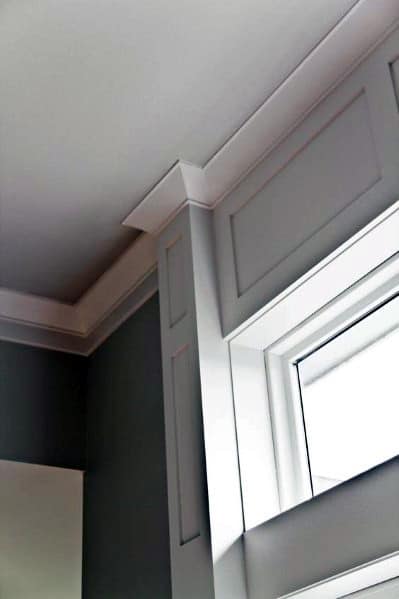
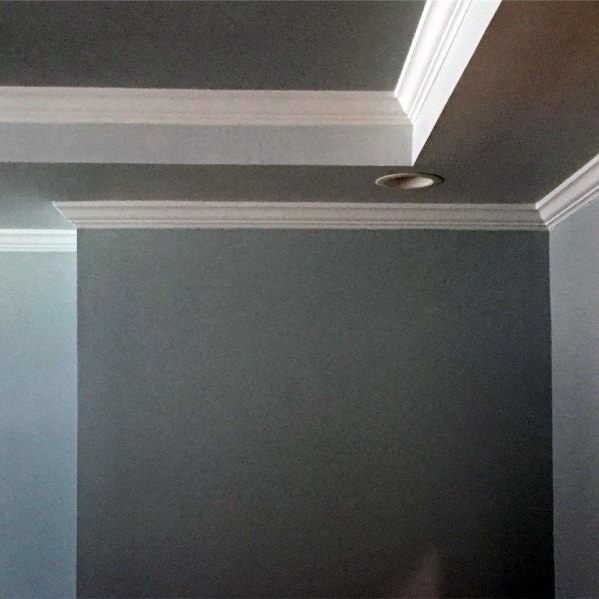
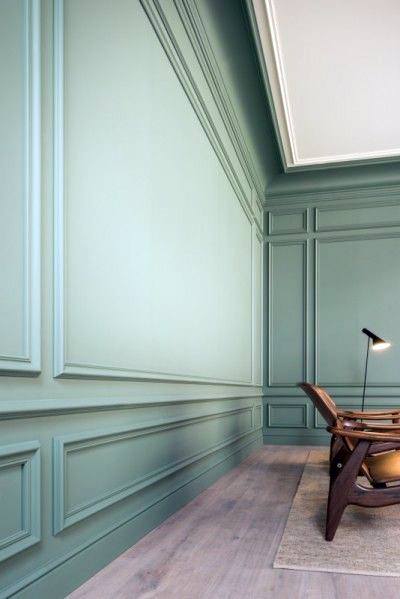
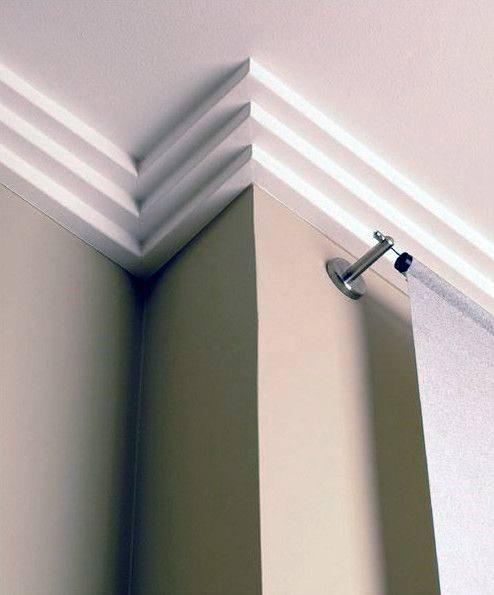
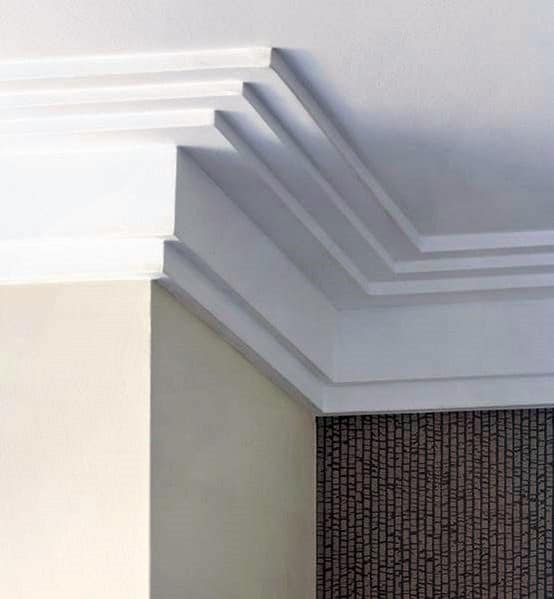
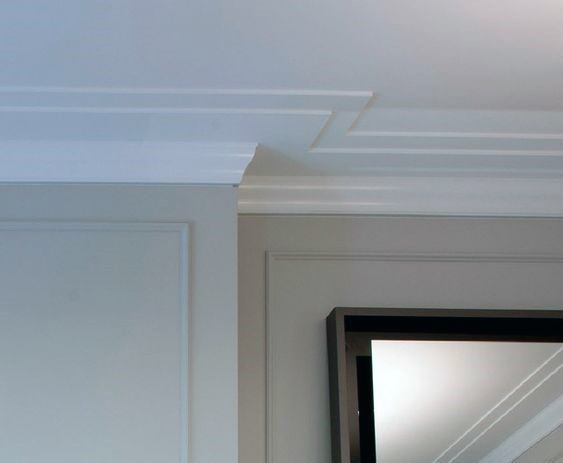
- Modern Crown Molding: Sleek and minimalist, modern crown molding is simpler in design, often with clean lines and straight edges. It suits contemporary and industrial spaces.
- Flexible Crown Molding: Made from rubber or foam, flexible molding can be used in curved or uneven spaces, offering versatility for unique room layouts.
- Polyurethane and MDF Crown Molding: Both materials are lightweight, easy to install, and cost-effective, providing a smooth finish that mimics wood or plaster. They are perfect for DIY installations.
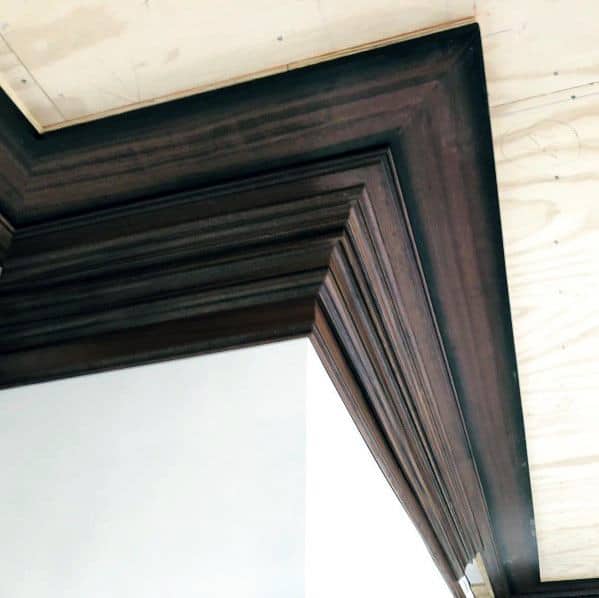
- Wood Crown Molding: Wood adds a luxurious touch and works well in rustic, farmhouse, or classic settings. It can be painted or stained to match your decor.
How to Install Crown Molding
Installing crown molding might seem daunting, but with the right tools and approach, it can be a rewarding DIY project. Here’s a step-by-step guide:
- Step 1: Measure the Room: Measure the length of each wall where you plan to install crown molding. Ensure accurate measurements, especially for corners and angles.
- Step 2: Choose the Right Molding: Select the style and material of crown molding that suits your home’s decor and fits your measurements.
- Step 3: Cut the Molding: Use a miter saw to cut the molding at 45-degree angles for the corners. Ensure the cuts are accurate to avoid gaps in the corners.
- Step 4: Mark the Wall: Use a pencil and level to mark where the molding will go. Mark the center of each piece of molding for easier installation.
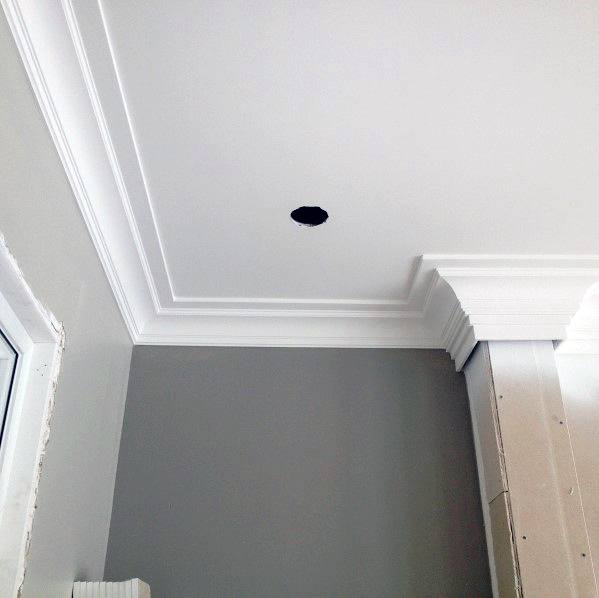
- Step 5: Attach the Molding: Apply adhesive to the back of the crown molding, then press it against the wall and ceiling. Use a nail gun or finishing nails to secure it in place.
- Step 6: Fill in Gaps: Caulk the seams and gaps, particularly in the corners. Sand the edges once the caulk has dried for a seamless finish.
- Step 7: Paint or Stain: If necessary, paint or stain the molding to match your room’s color scheme. Apply multiple coats for a smooth, professional finish.
Design Tips for Incorporating Crown Molding
Crown molding can be a versatile design feature. Here are some creative tips on how to incorporate it into various spaces:
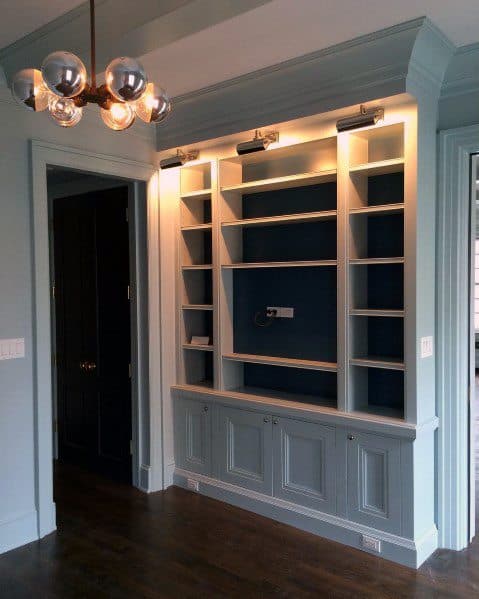
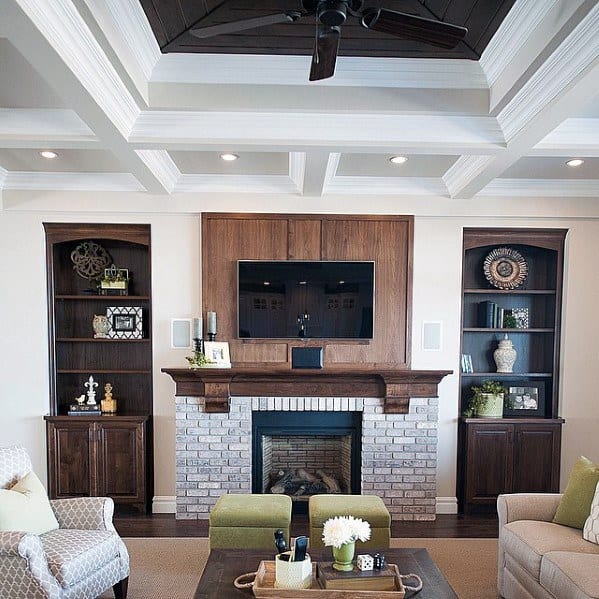
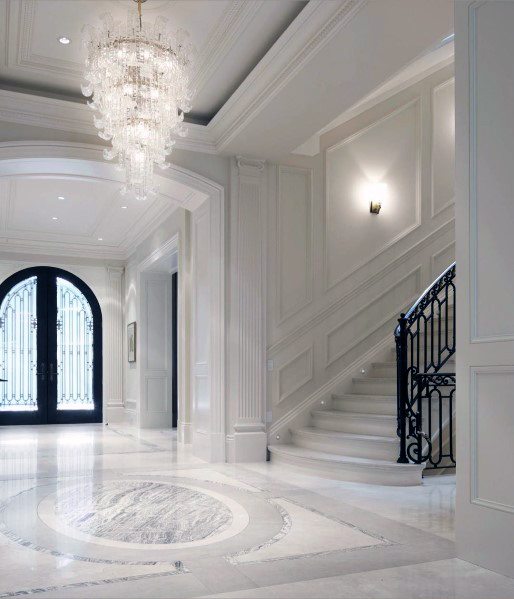
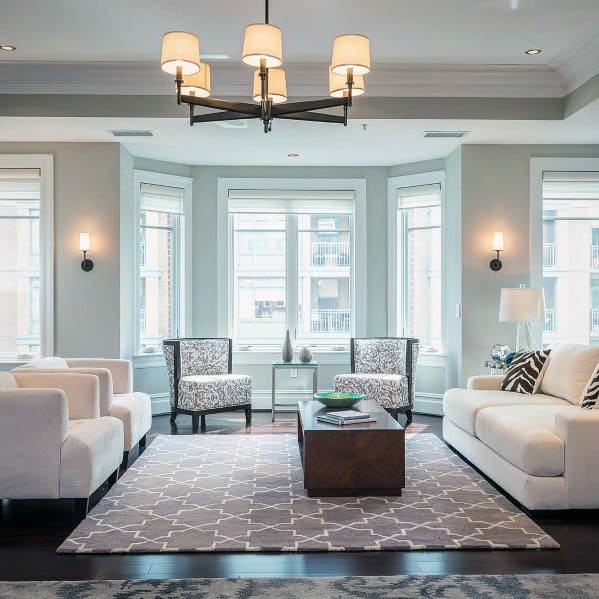
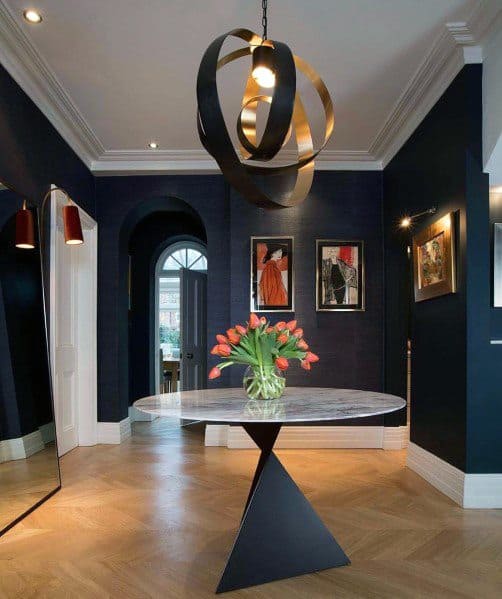
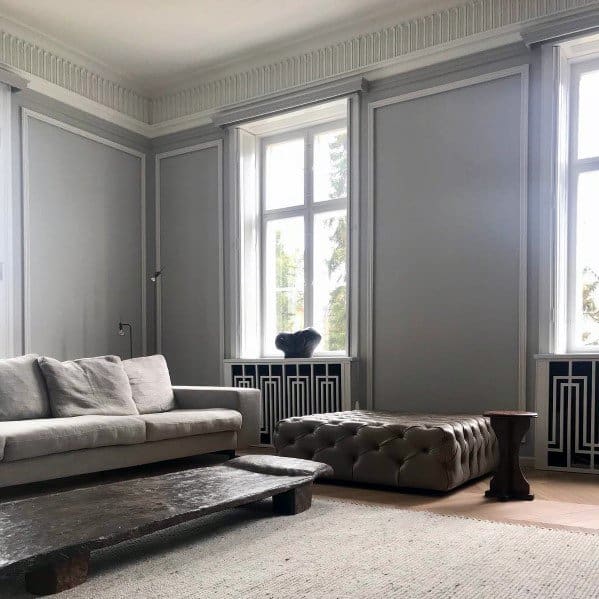
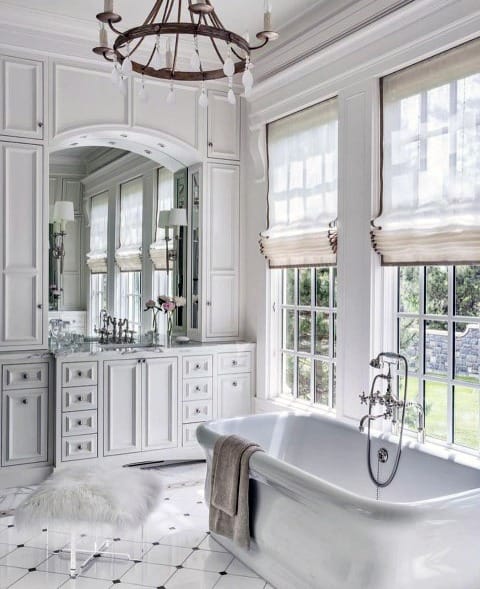
- Living Room: Opt for large, ornate crown molding if you have high ceilings, or choose a simpler style for smaller rooms. A chandelier, as seen in elegant foyers and dining rooms, can complement the crown molding and add a touch of luxury.
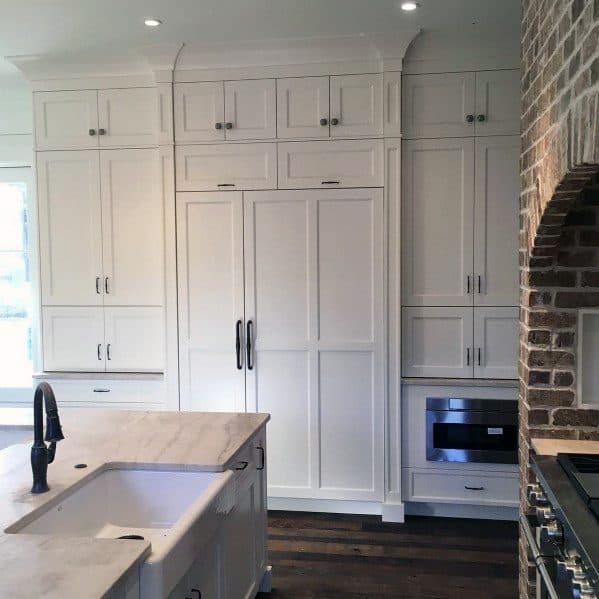
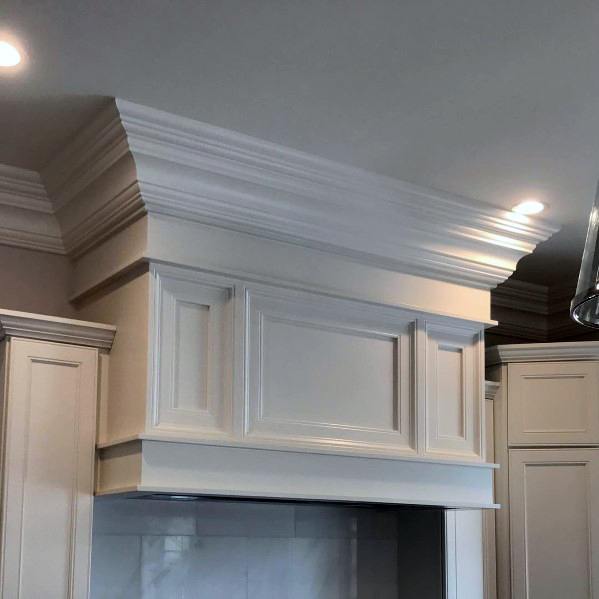
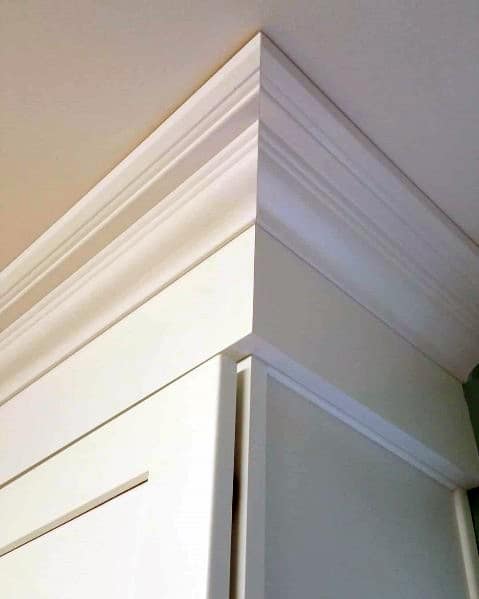
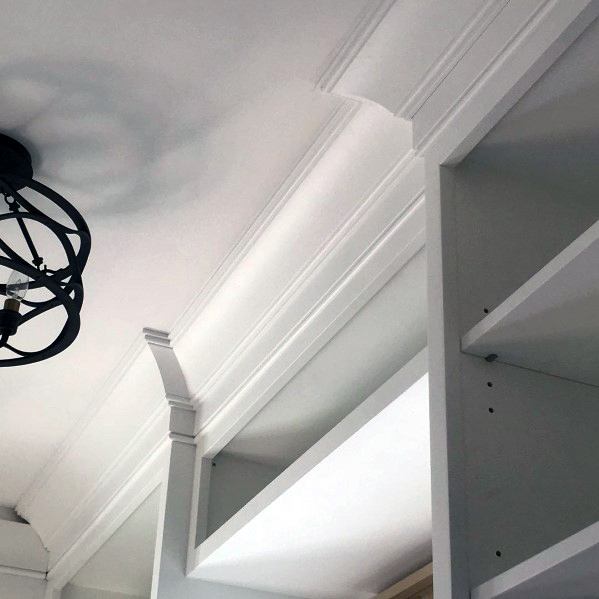
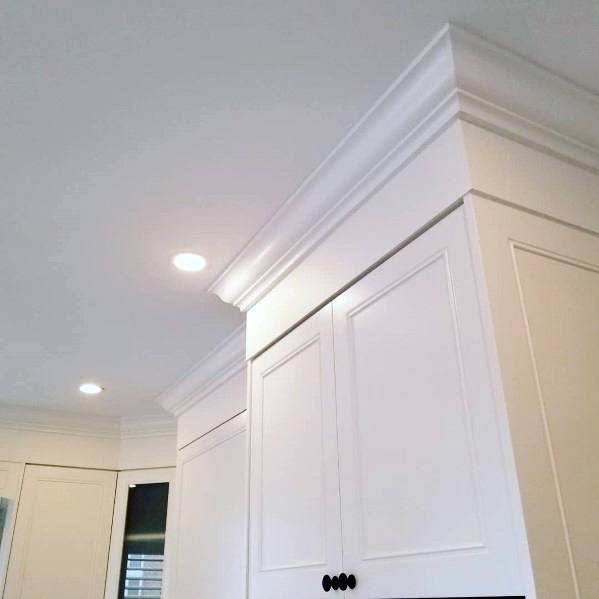
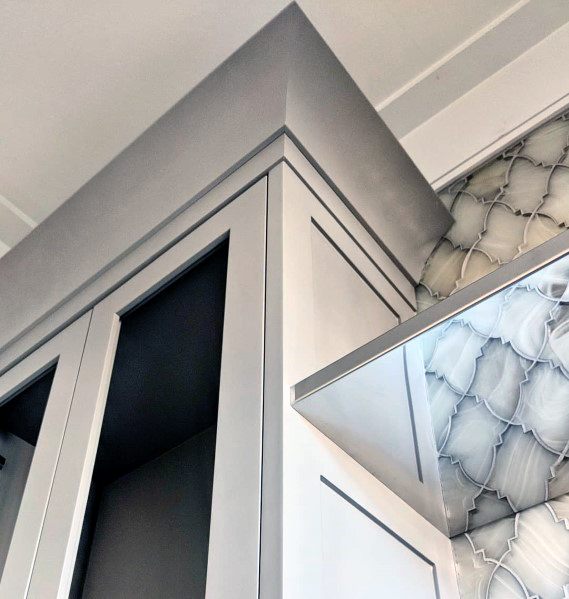
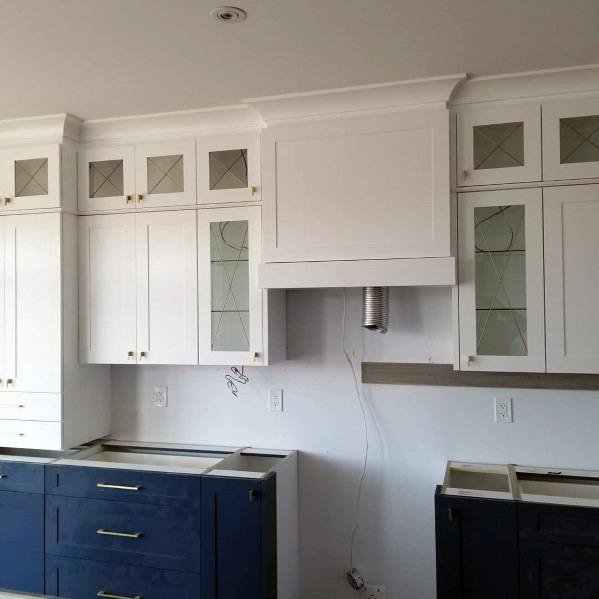
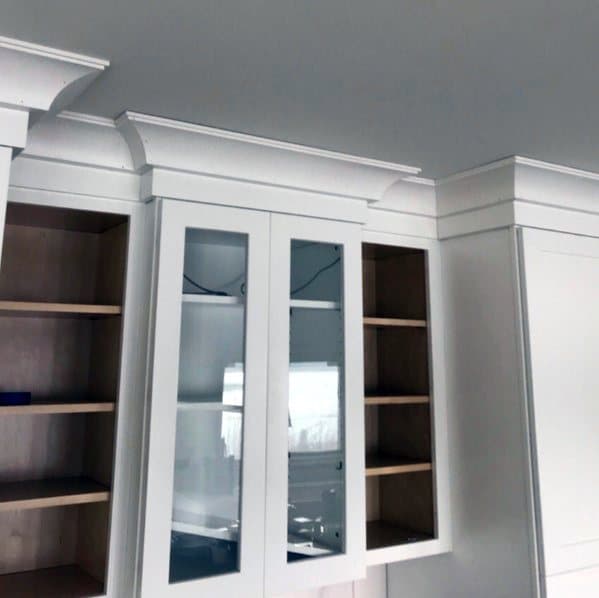
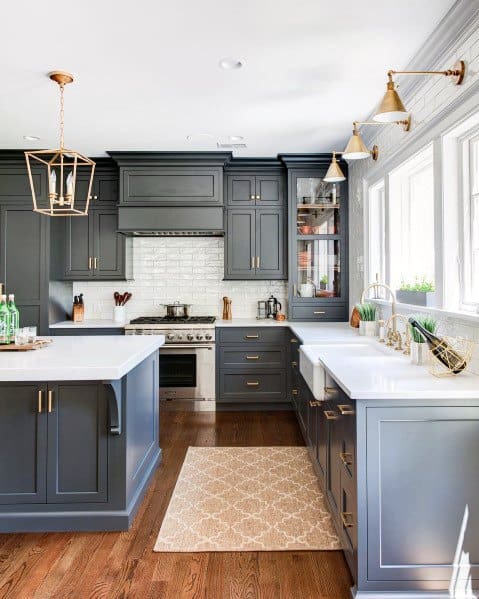
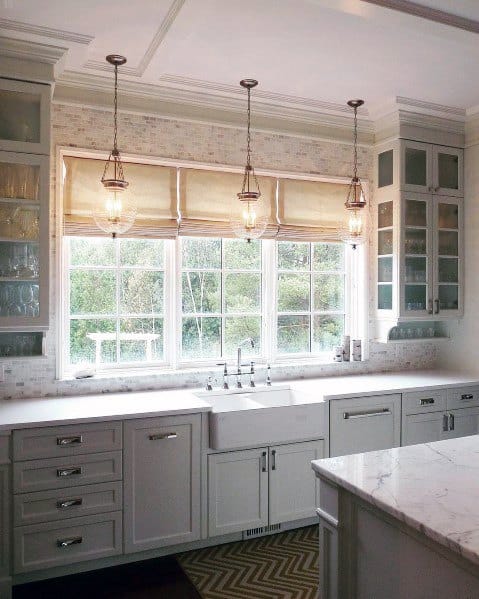
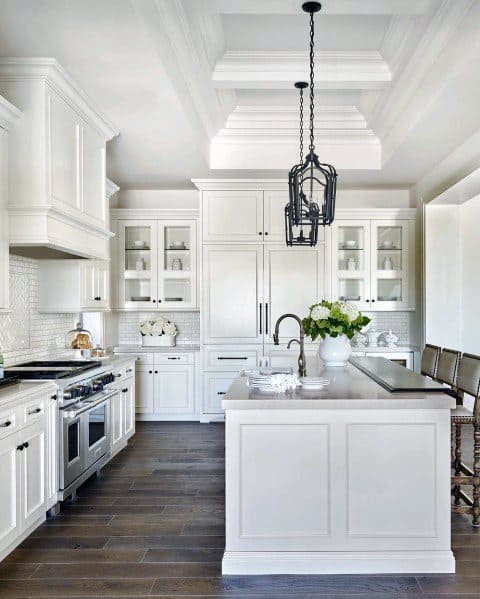
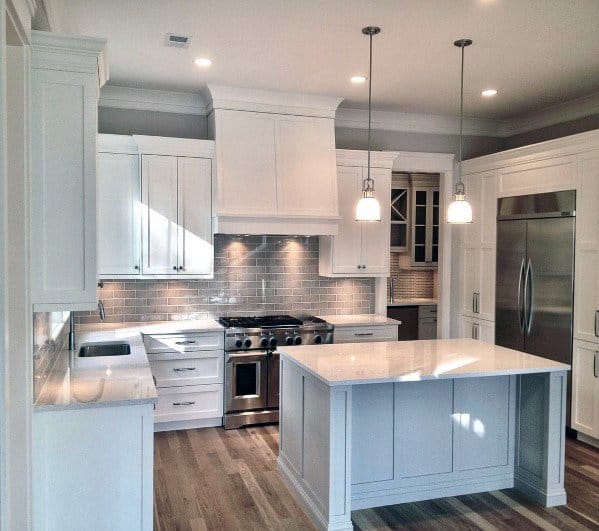
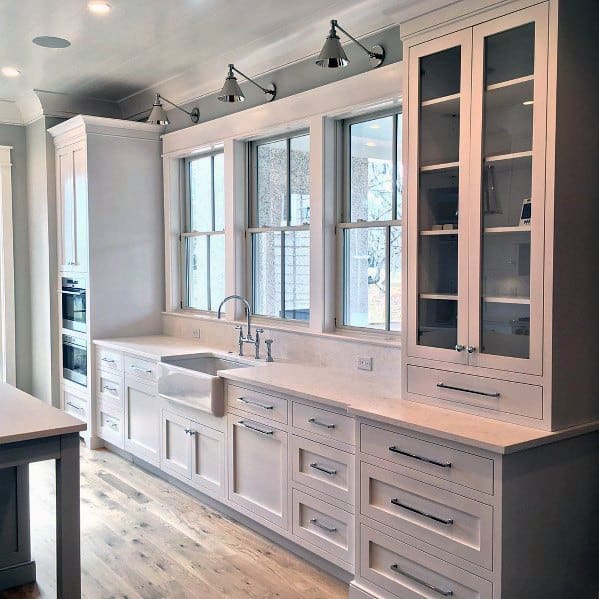
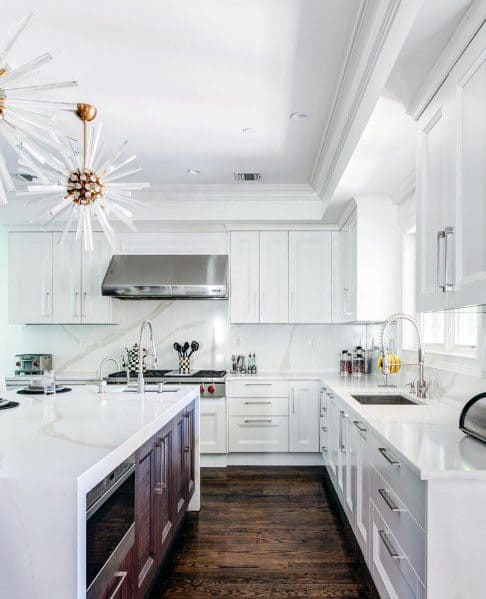
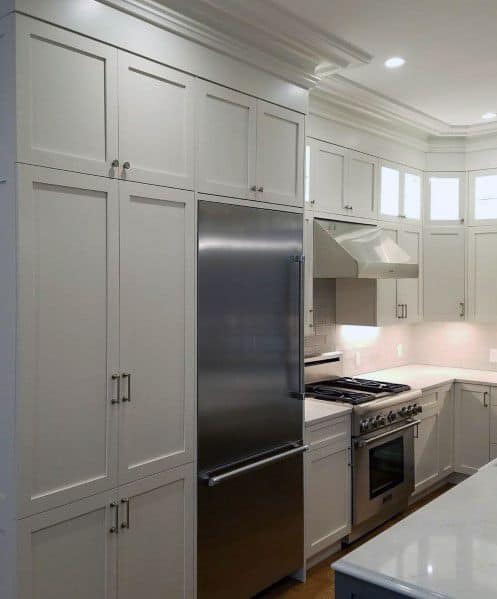
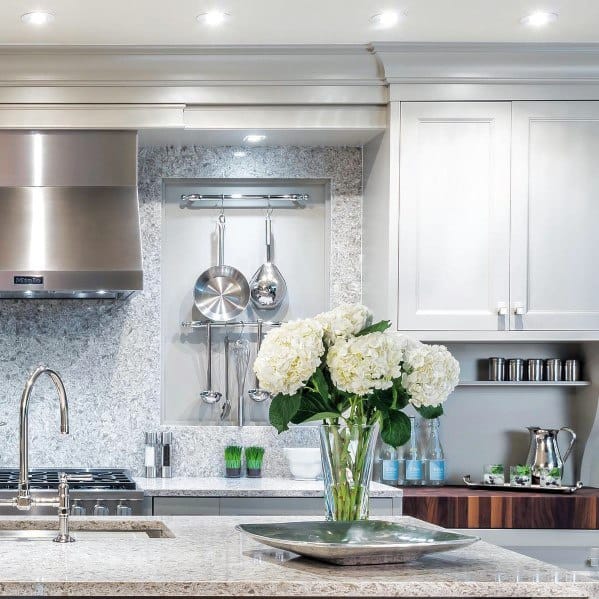
- Kitchen: Install crown molding above cabinets to create a more polished, finished look. Pair it with under-cabinet lighting to accentuate the design.
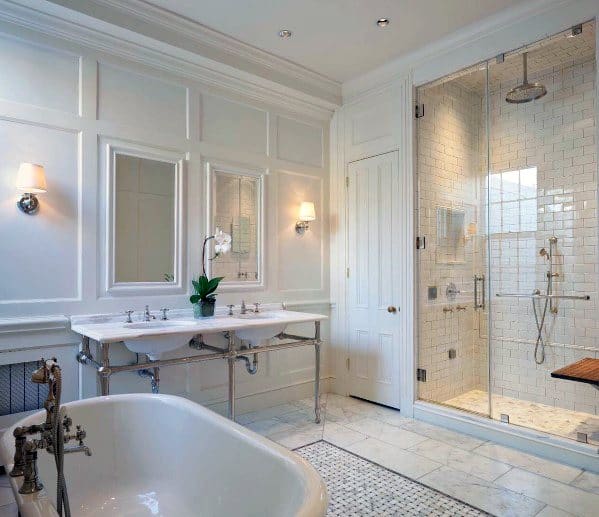
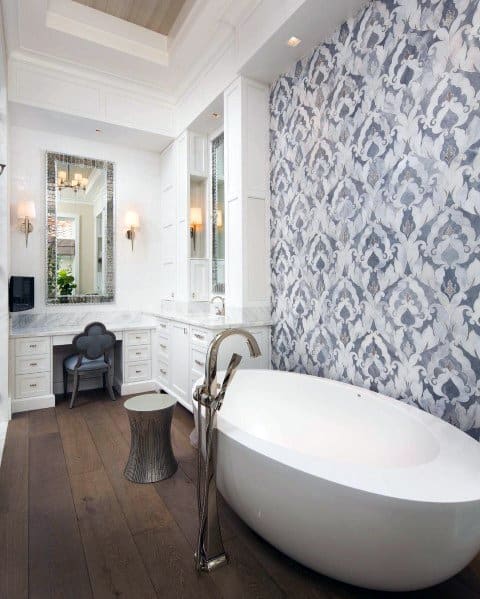
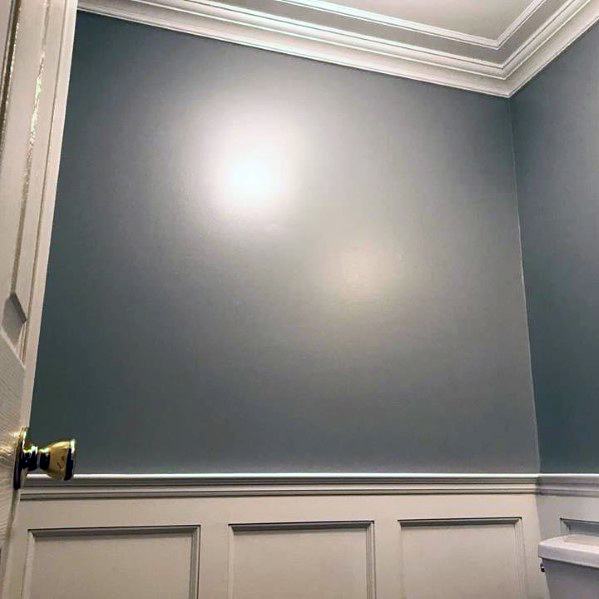
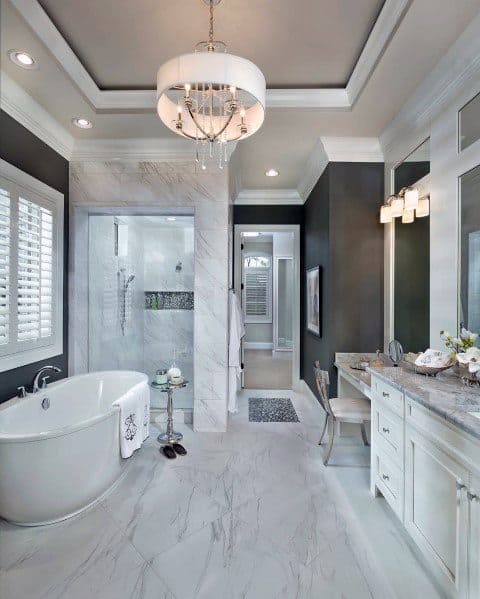
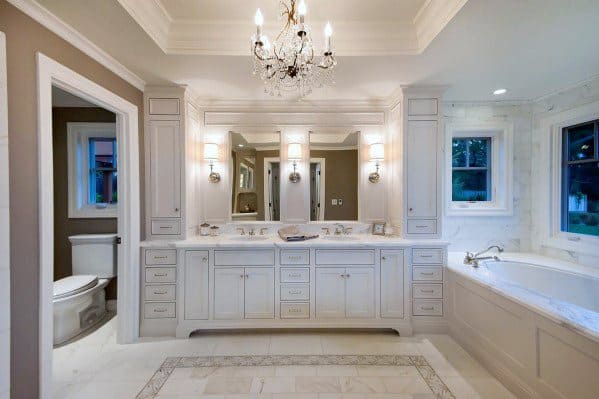
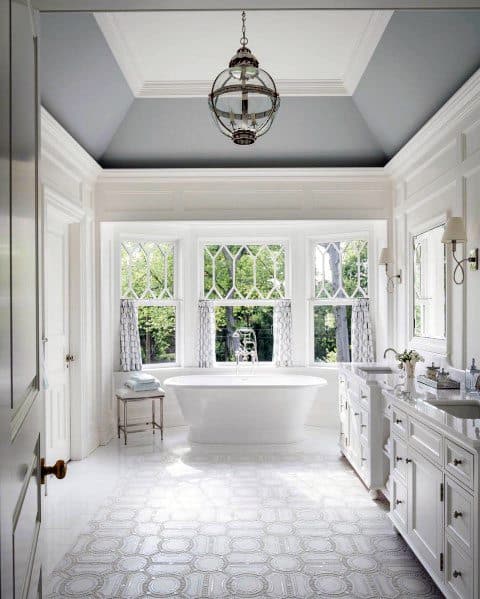
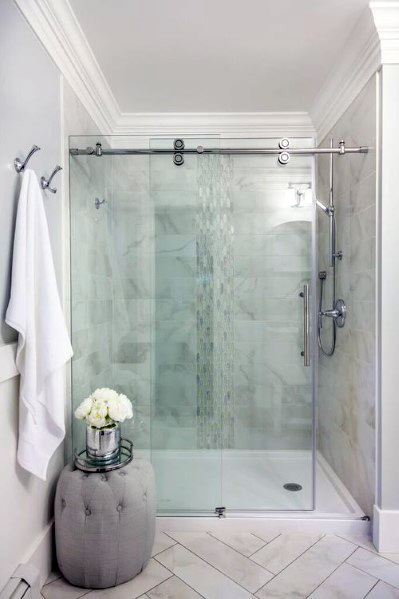
- Bathroom: Choose smaller, more delicate crown molding in bathrooms to maintain a clean and airy look. Combining crown molding with tile or wallpapered walls can add texture and depth.
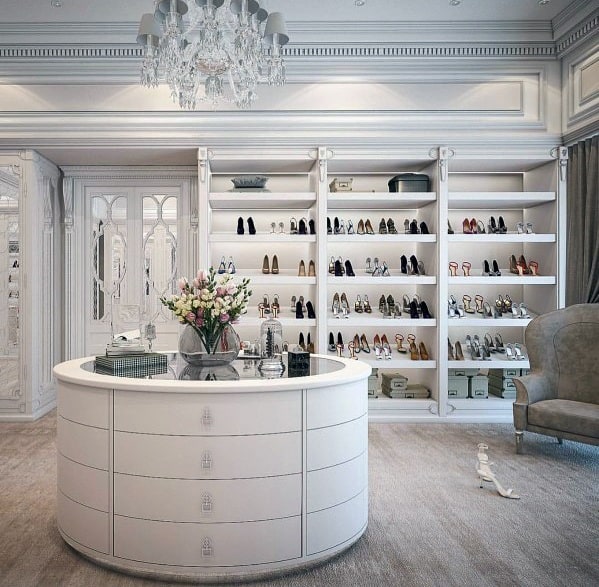
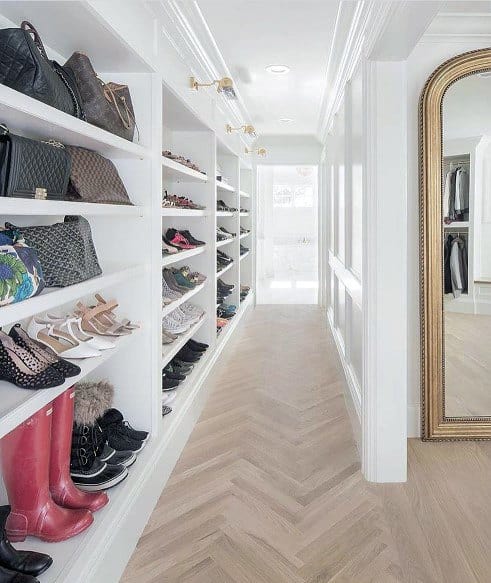
- Walk-In Closet: As seen in luxurious closet designs, crown molding can help frame a space, making it feel more organized and stylish. Pair it with custom shelving or cabinets for a cohesive look.
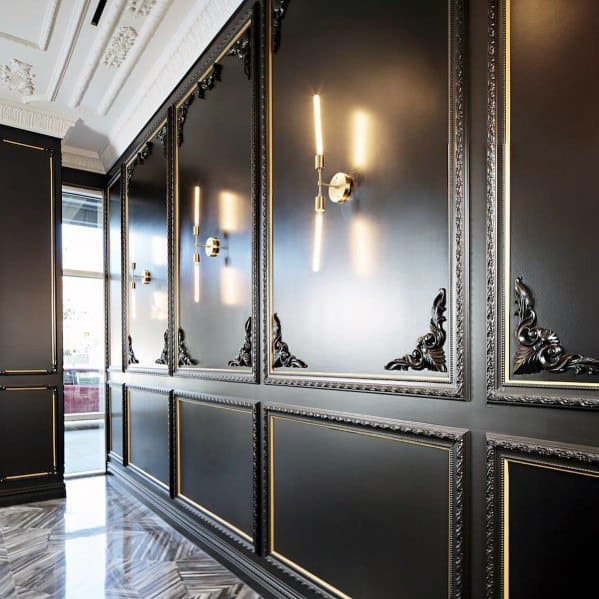
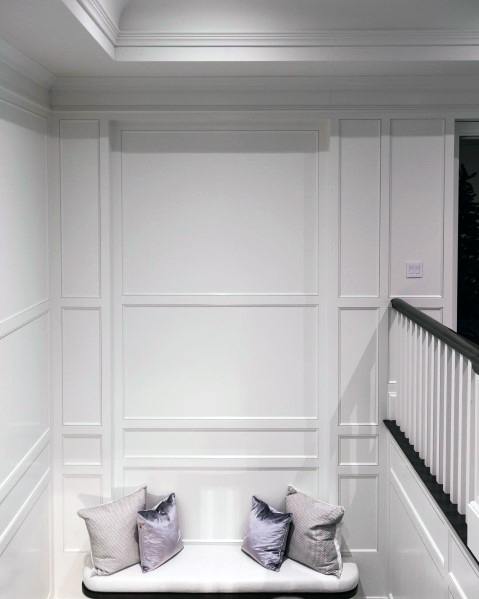
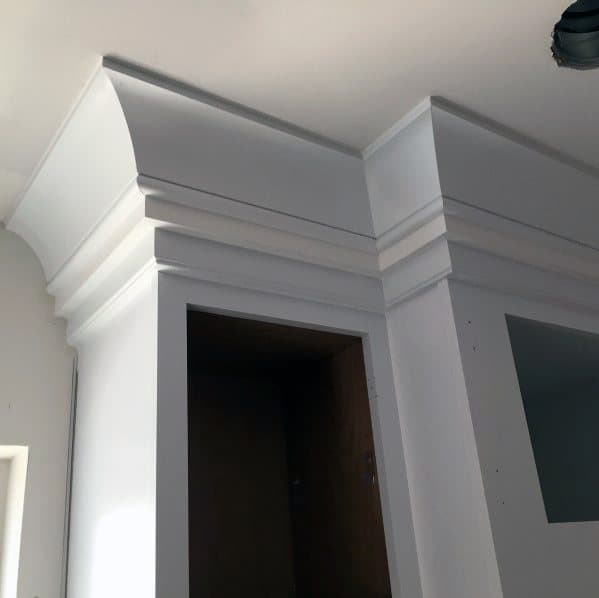
- Hallways and Staircases: Use crown molding to visually enhance long or narrow hallways, and install it along the top of a staircase to create a dramatic effect. A subtle design works well in these spaces.
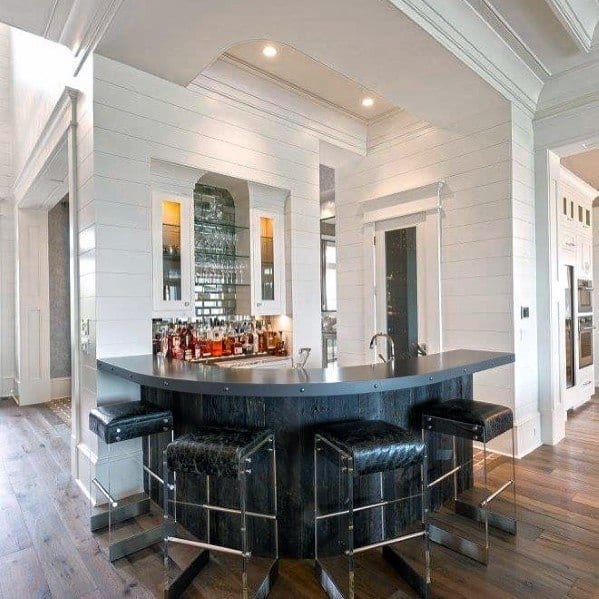
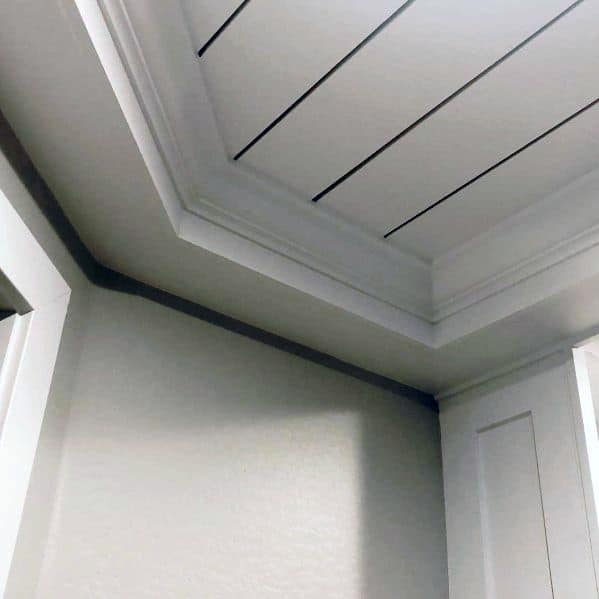
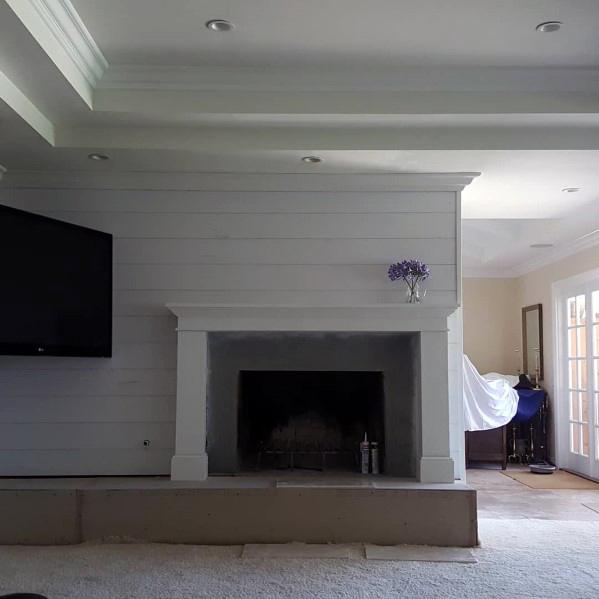
- Coastal or Farmhouse Styles: For a coastal look, choose white or light-colored crown molding that matches with shiplap walls or airy textiles. In a farmhouse or rustic home, opt for wood molding that complements the natural decor.
Key Considerations for Homeowners
Before adding crown molding to your space, consider the following:
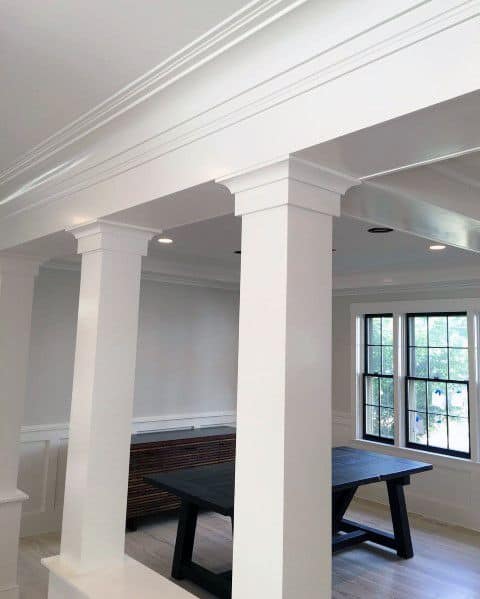
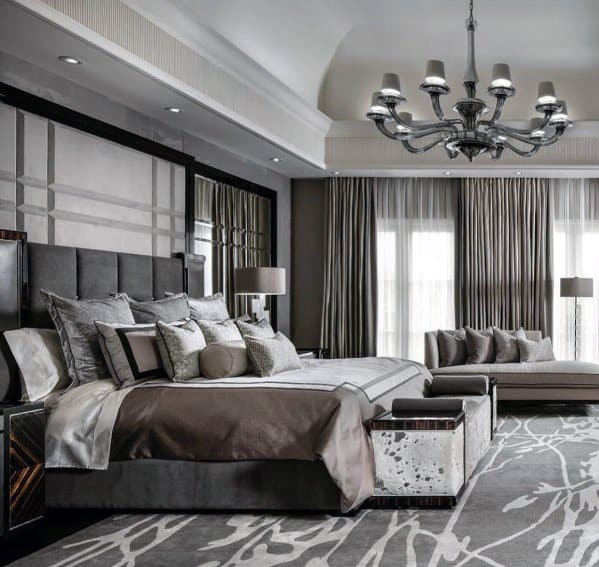
- Ceiling Height: The height of your ceiling should influence the size of the crown molding. Taller ceilings often look better with larger, more intricate molding, while smaller rooms and lower ceilings benefit from simpler, less bulky designs.
- Room Style: Choose crown molding that complements your room’s overall aesthetic. Intricate designs are best for classic or vintage rooms, while simple styles suit modern and minimalistic spaces.
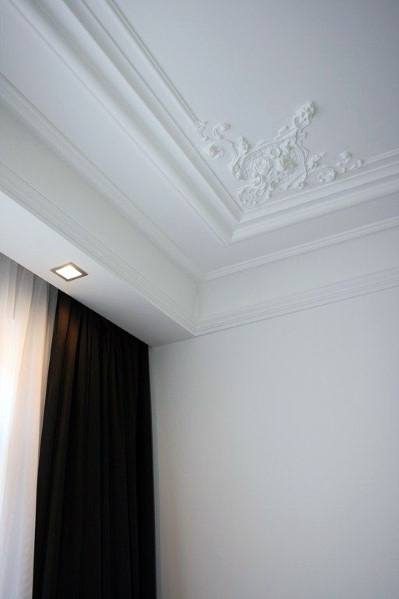
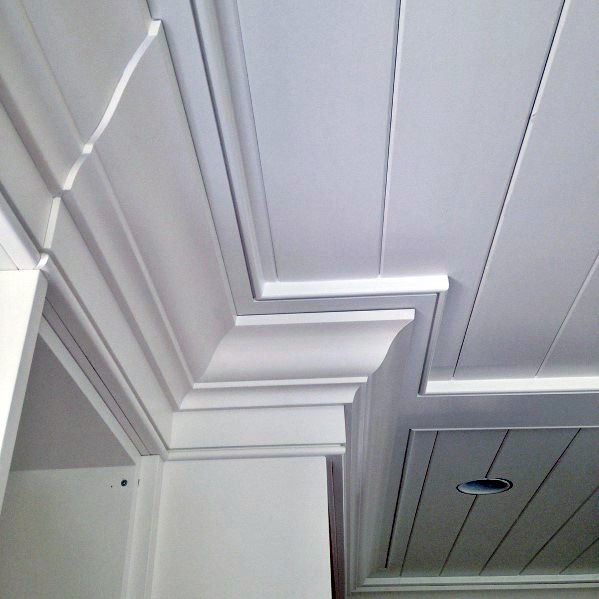
- Lighting: Install recessed lighting or pendant lighting in conjunction with crown molding to create a striking effect. In some cases, crown molding can even hide light fixtures for a seamless look.
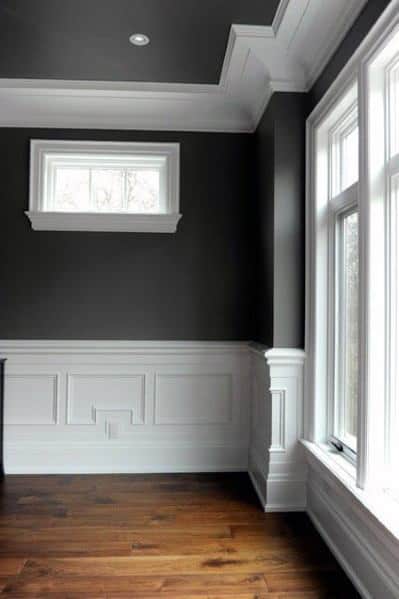
- Color Matching: White crown molding is a timeless choice that pairs well with any color scheme. However, you can also opt for a contrasting color to make the molding stand out or blend with the room’s trim and walls.
- Budget: While crown molding adds elegance, it can be a significant investment. Evaluate your budget before choosing high-end materials like wood or plaster. Consider alternatives like MDF or polyurethane if you’re working with a tighter budget.
Maintenance and Care
Crown molding doesn’t require much maintenance, but regular cleaning and touch-ups will keep it looking its best:
- Dusting: Regularly dust the crown molding to keep it free from cobwebs and debris. A microfiber cloth works well for gentle dusting.
- Repairs: If any part of the molding becomes loose or damaged, repair it promptly with wood filler or caulk. Repaint or touch up any chips or scuffs to maintain its appearance.
- Moisture Control: In areas like bathrooms or kitchens, moisture can affect the molding. Use water-resistant crown molding materials or apply a moisture-resistant finish to avoid issues over time.
FAQs
What is the purpose of crown molding?
The purpose of crown molding is mostly aesthetic as it helps to add elegant detailing between your wall and ceiling. That’s not the only place it’s used, however, as it can also be used for baseboard molding or even door casing to improve the look of your room.
Can I install crown molding myself?
If you’re proficient at DIY then you should be able to install crown molding. A precision cut is required which is why you’ll probably need more than a coping saw. A miter saw would most likely be required to make that miter angle.
There are a few ways that you can install the molding, depending on the material you’re using. Once you’ve finished, you’ll most likely need to use paintable caulk to give it the smooth finish it needs. miter cut
Does crown molding increase home value?
The easy answer is yes but it does depend on other factors. Poorly installed crown molding or one that noticeable brings down the ceiling height may not be desired. You may also have a prospective buyer who simply doesn’t like crown molding. For most people, however, it improves the appearance of a room and makes a home more sellable.
Does crown molding go in bathrooms?
It does but you need to be careful not to use a porous material, such as untreated wood. It’s best to use something smooth and water resistant such as polyurethane or PVC.